Eclipse Tutorial
Step 1: Starting Eclipse (on CS Linux machines)
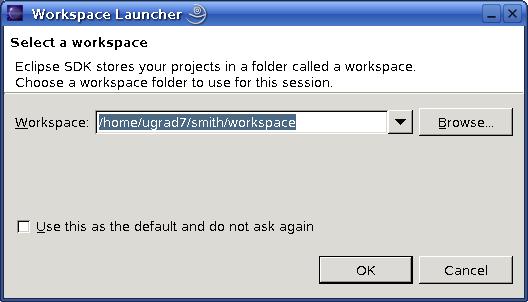
In order to use Eclipse on CS Linux machines you need to source /local/config/cshrc.eclipse to get it into your path. You should add "source /local/config/cshrc.eclipse" to your .cshrc file to have Eclipse in your path every time you log in to your CS account. Start Eclipse by typing "eclipse &".The first screen that comes up after opening Eclipse is the Workspace Launcher. This screen allows you to choose where the projects you create will be saved. You may use the default, or specify a different location.
Step 2: Choosing a Perspective
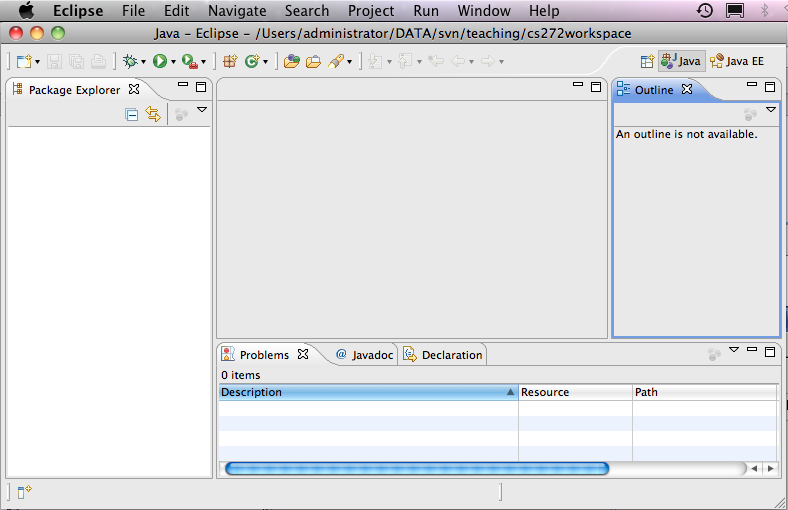
A perspective defines the initial set and layout of views in the window. Perspectives control what appears in certain menus and toolbars. For example, a Java perspective contains the views that you would commonly use for editing Java source files, while the Debug perspective contains the views you would use for debugging Java programs. You may switch perspectives, but you need to specify an initial perspective for a workspace. To create Java programs, set the Java perspective by choosing Window, Open Perspective, Java from the main menu, as shown below: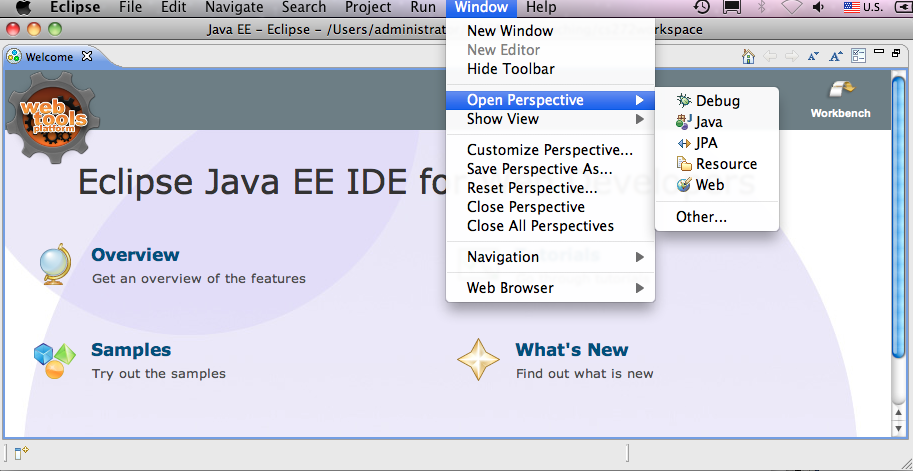
Step 3: Creating a New Java Project
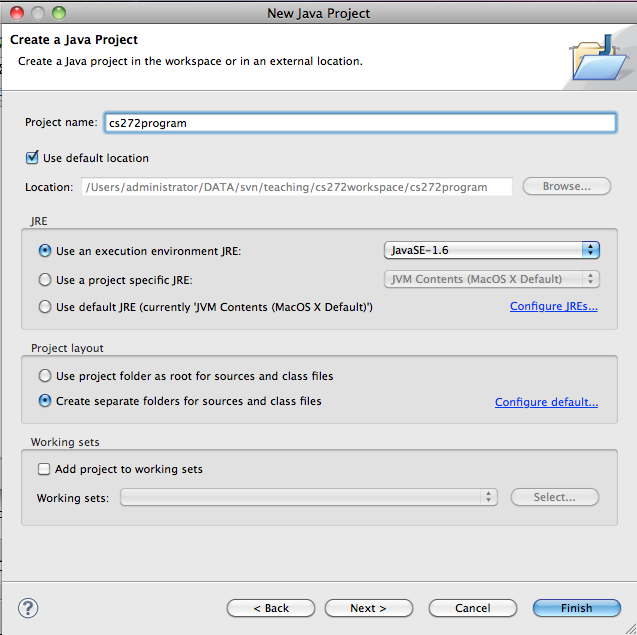
To create a project, choose File, New, Project to display New Project wizard, as shown below: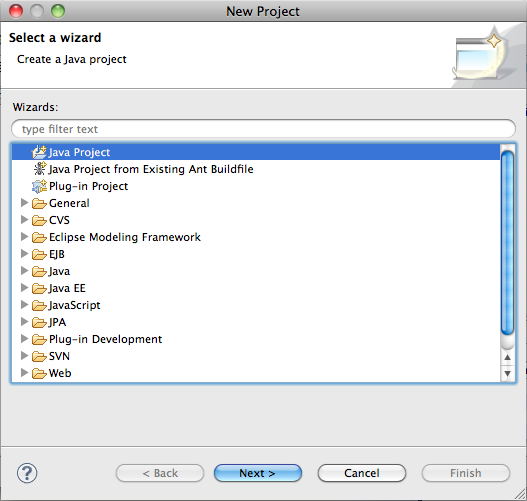
Step 4: Creating a Program in the Project
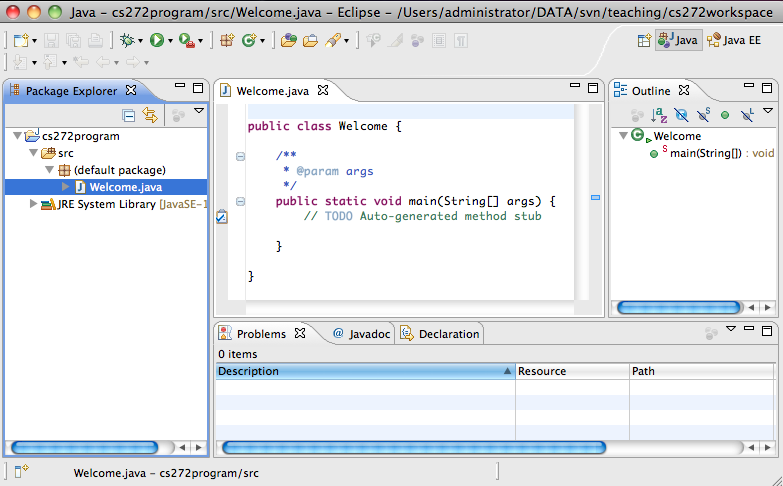
Now you can create a program in the project by choosing File, New, Class to display the New Java Class wizard as shown below. Type Welcome in the Name field. Check the option public static void main(String[] args).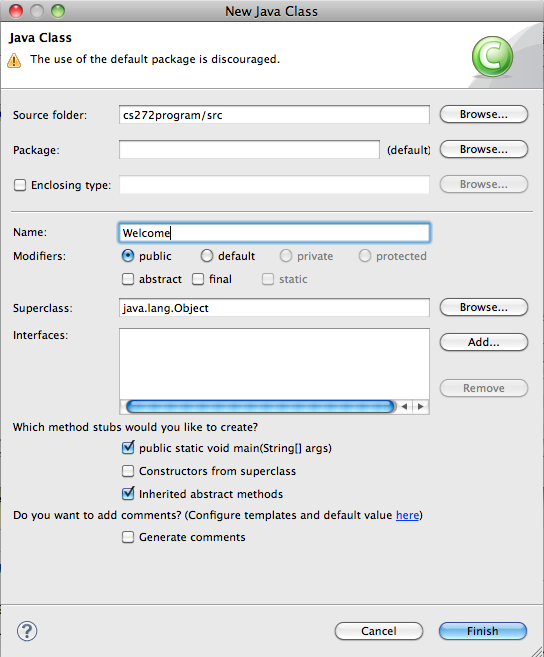
Note: As you type, the code completion assistance may automatically come up to give you suggestions for completing the code. For instance, when you type a dot (.) after System and pause for a second, Eclipse displays a pop up menu with suggestions to complete the code, as shown below. You can then select the appropriate item from the menu to complete the code.

Step 5: Compiling and Running a Program
By default, your source code is dynamically compiled as you type. For example, if you forgot to type the semicolon (;) to end the statement, as shown below, you will see the red wriggly line in the editor pointing to the error: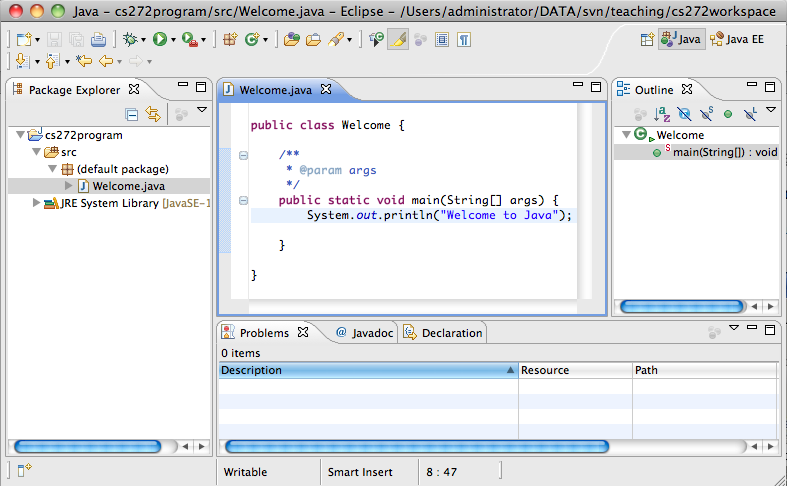

Step 6: Compile and Run Java Applications from the Command Line
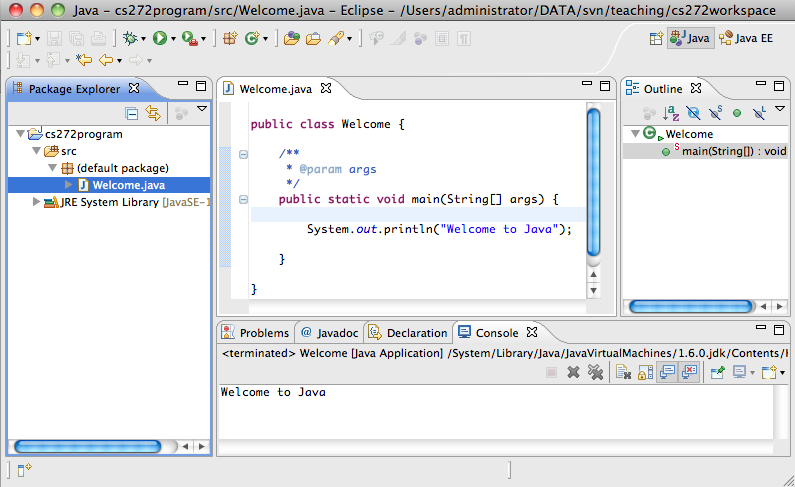
You can also compile and run program standalone directly from the operating system. Here are the steps to run the Welcome application from the prompt.% java Welcome Welcome to Java
% javac Welcome.java
Step 7: Importing Existing Resources
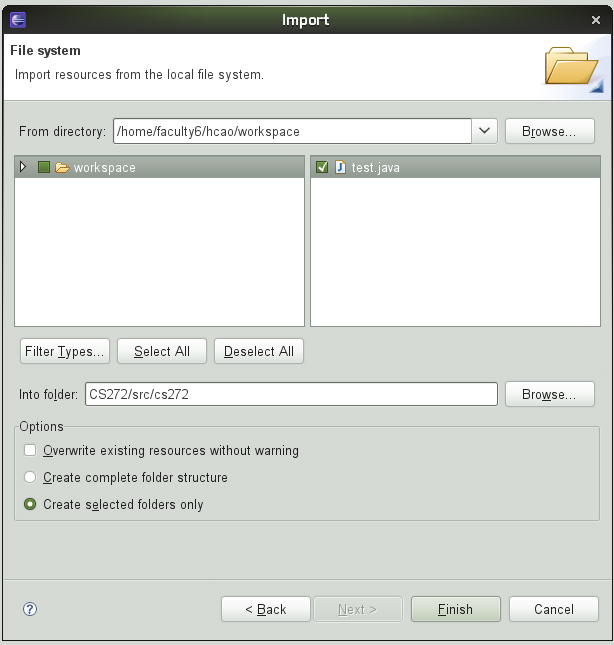
Another way to add files to a project is to import them from the local file system. This is done when you already have files and want to incorporate them into the project. First, create a new project as described earlier. To practice, create a new project with the name showtime. Then, select File, Import from the main menu. The import wizard appears and gives you many different ways to import resources, we are interested in importing from the file system.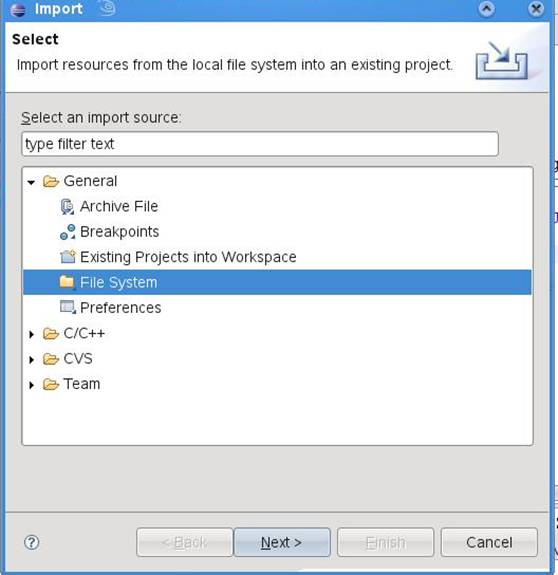
Step 8: Debugging in Eclipse
The debugger utility is integrated in Eclipse. You can pinpoint bugs in your program with the help of the Eclipse debugger. The Eclipse debugger enables you to set breakpoints and execute programs line by line. As your program executes, you can watch the values stored in variables, observe which methods are being called, and know what events have occurred in the program.
To demonstrate debugging, let us use example that displays the current time.
The source code for ShowCurrentTime.java can be obtained from here.
You may either import the file ShowCurrentTime.java or create a new class named
ShowCurrentTime and type in the code yourself.
8.1 Setting breakpoints
You can execute a program line by line to trace it, but this is time-consuming if you are debugging a large program. Often, you know that some parts of the program work fine. It makes no sense to trace these parts when you only need to trace the lines of code that are likely to have bugs. In cases of this kind, you can use breakpoints.
A breakpoint is a stop sign placed on a line of source code that tells the debugger to pause when this line is encountered. The debugger executes every line until it encounters a breakpoint, so you can trace the part of the program at the breakpoint. Using the breakpoint, you can quickly move over the sections you know work correctly and concentrate on the sections causing problems.
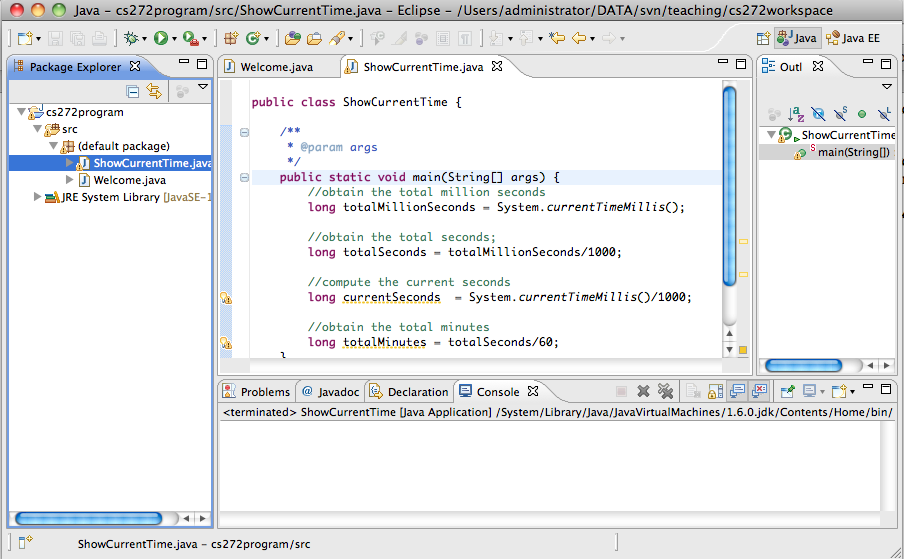
There are several ways to set a breakpoint on a line. One way is to click on the line on which you want to put a breakpoint and then choose Run, Toggle Line Breakpoint from the main menu. You will see the line highlighted, and a breakpoint mark on the left of the line:
As you debug your program, you can set as many breakpoints as you want, and can remove breakpoints at any time during debugging. The project retains the breakpoints you have set when you exit the project. The breakpoints are restored when you reopen it.
8.2 Starting the Debugger
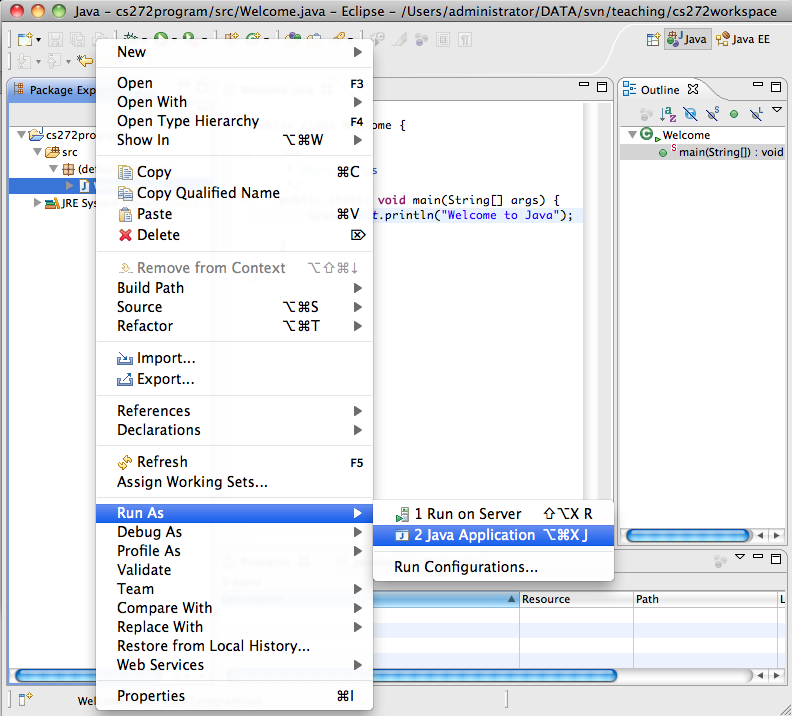
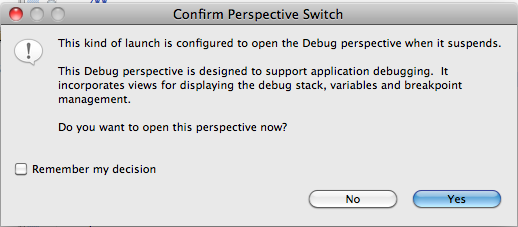
There are several ways to start the debugger. A simple way is shown below:
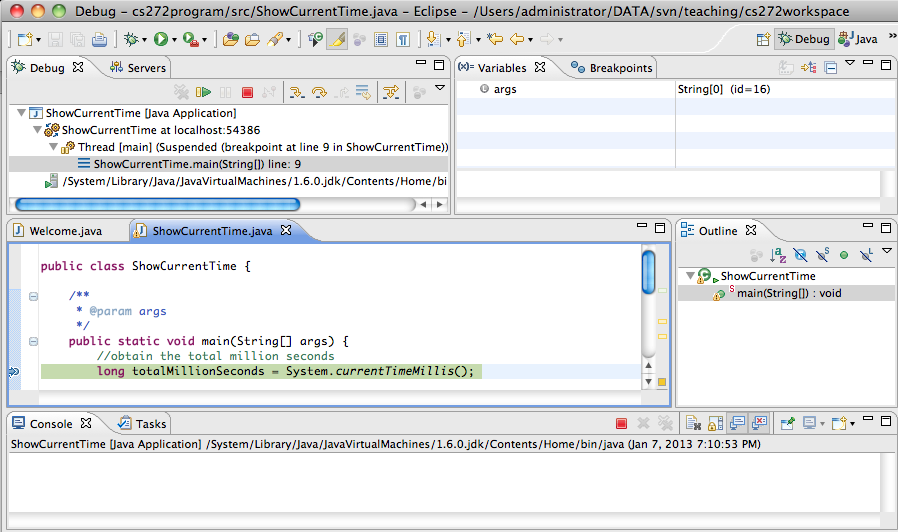
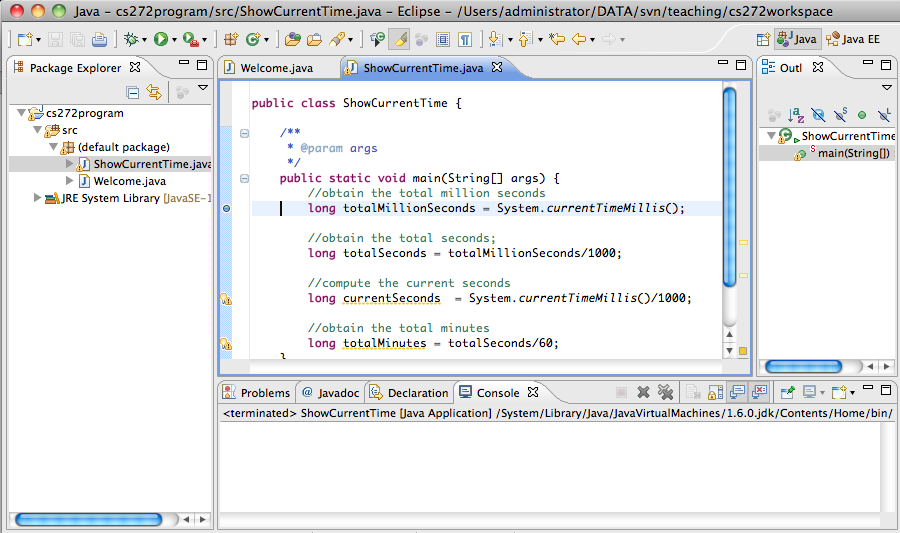
The program pauses at the first line in the main method. This line, called the current execution point, is highlighted in green. The current execution point marks the nest line of source code to be executed by the debugger.
When the program pauses at the execution point, you can issue debugging commands to control the execution of the program. You can also inspect or modify the values of variables in the program.
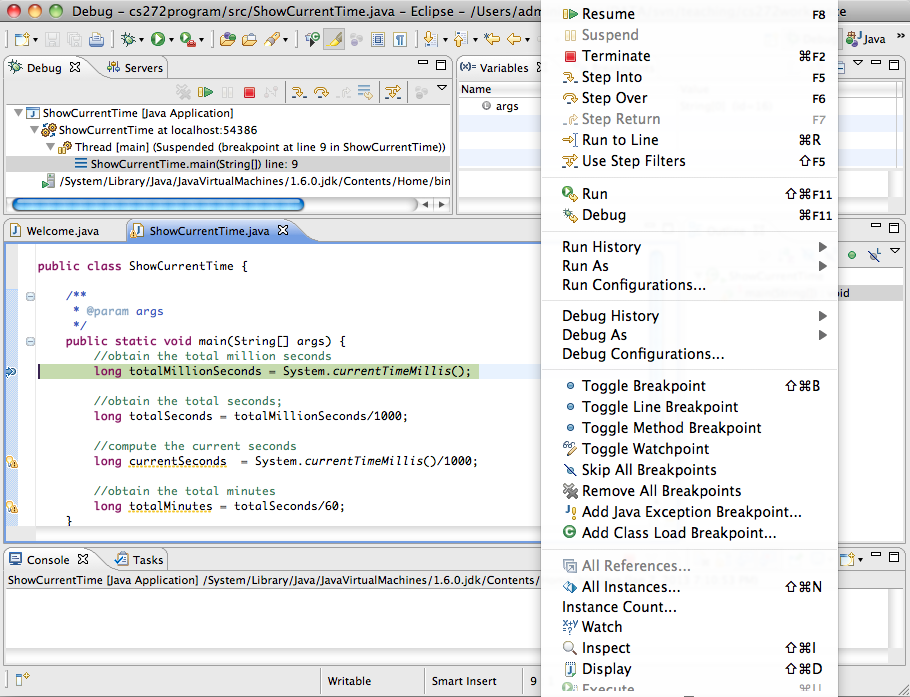
When Eclipse is in the debugging mode, the following toolbar buttons for debugging are displayed in the Debug window, as shown below. The toolbar button commands also appear in the Run menu:
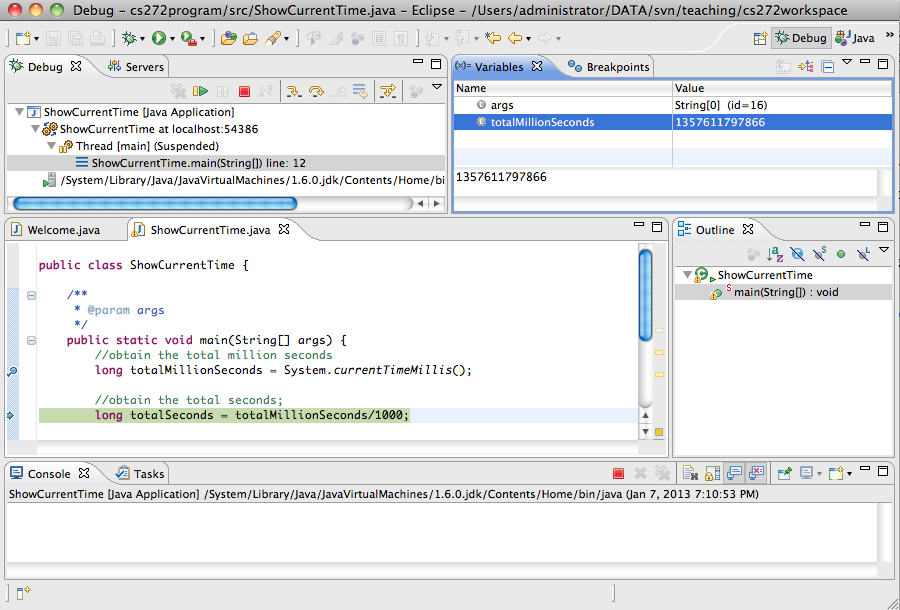
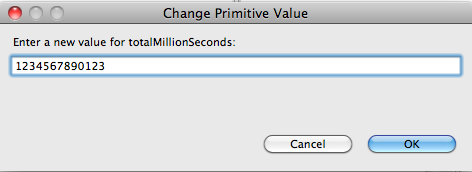
Among the most powerful features of an integrated debugger is its capability to examine the values of variables, array items, and objects, or the values of the parameters passed in a method call. You can also modify a variable value if you want to try a new value to continue debugging without restarting the program.
To demonstrate it, choose Run, Step Over to execute one line in the source code, and you will see the value for totalMilliseconds in the Variables pane, as shown below:
The debugger is an indispensable, powerful tool that boosts your productivity. It may take you some time to become familiar with it, but the effort will pay off in the long run.
After finishing debugging, you may switch to the Java perspective by choosing Window, Open Perspective, Java from the main menu.
Step 9: Creating and Testing Java Applets
You can create a Java applet in the same way you create a Java application. For example, you can create the WelcomeApplet class, as shown below: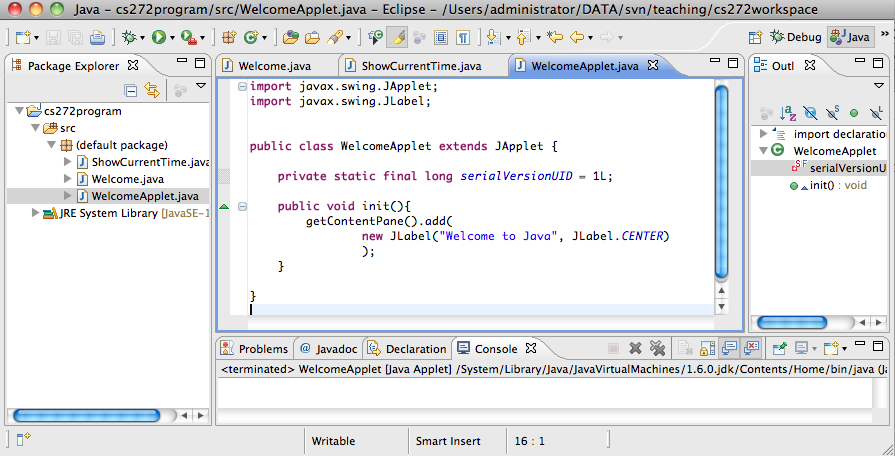
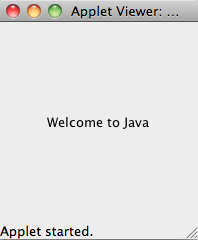
To run an applet, choose Run, Run As, Java Applet from the main menu. Eclipse automatically creates an HTML file to contain the applet and invokes the appletviewer utility to run the applet, as shown below.
public static int maxOf2(int a, int b) throws AssertionError
{
	int answer = 1;
	if (a>b) answer = a;
	else answer =b;

	assert((answer==a)||(answer==b)): "maxOf2 answer is not equal to one of the arguments";

	return answer;
}
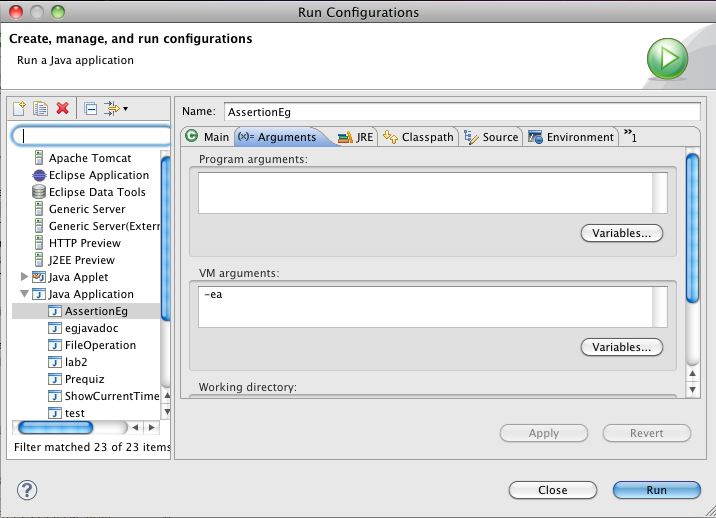
To turn on the assertions:
right click the class that implements this method,
Then, click "Run as/Run Configurations".
You will see the following window
Click the "Arguments" tab and add "-ea" to the VM arguments box.